
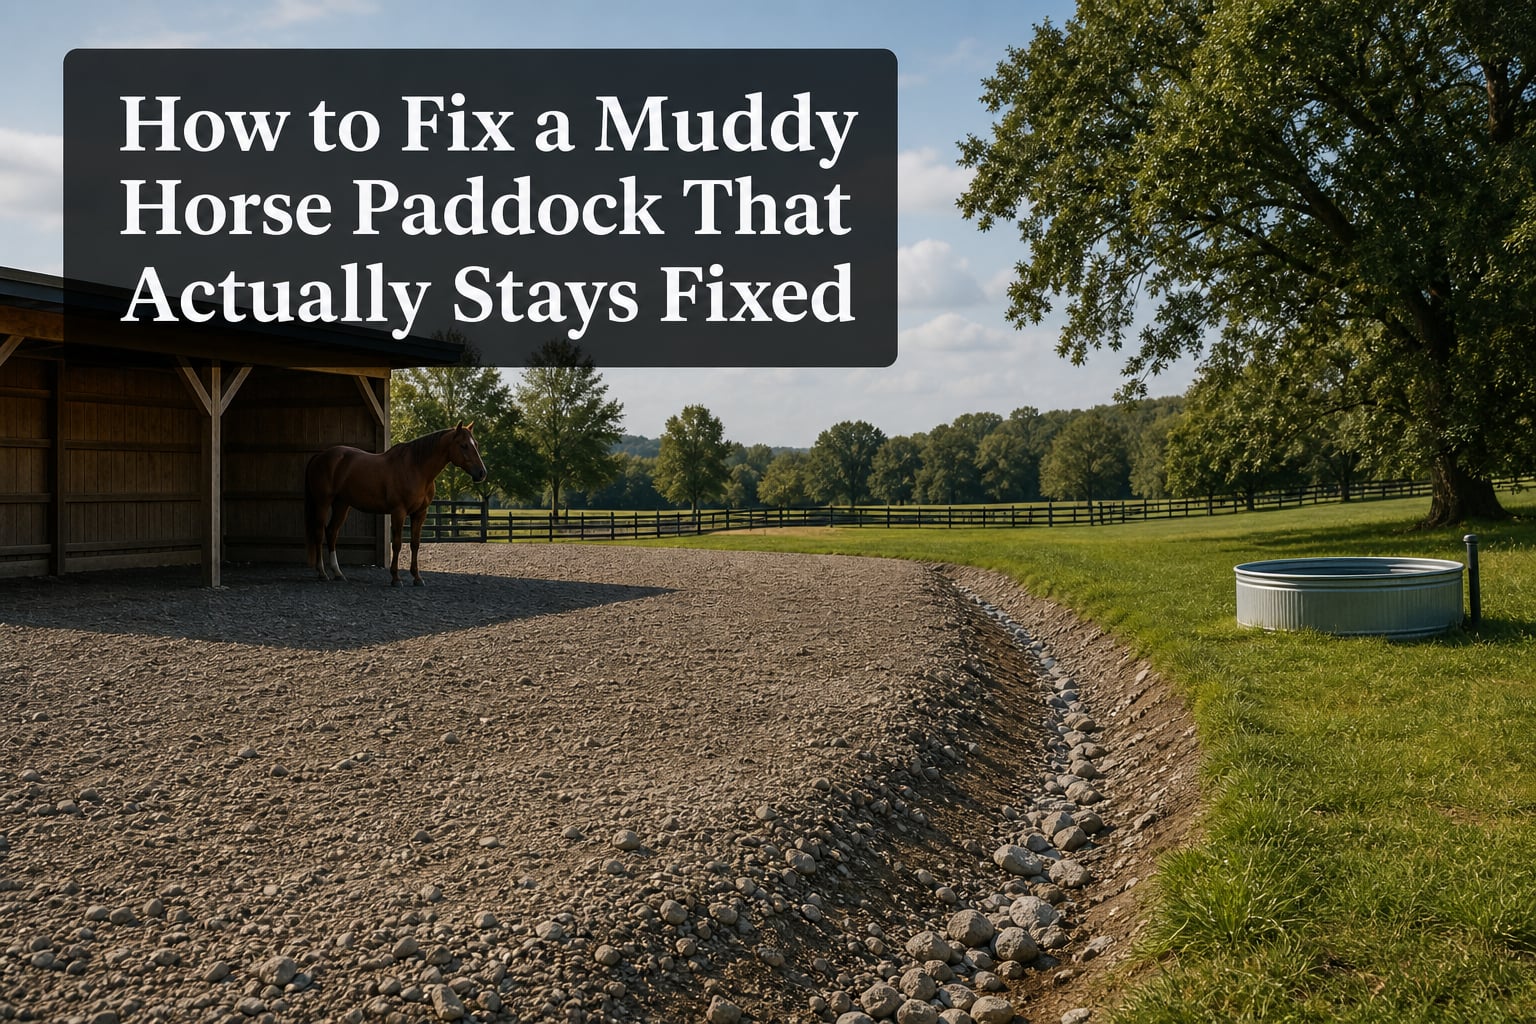
Learning how to fix a muddy horse paddock starts with one hard truth: spreading material over wet, churned soil is not a permanent repair. A lasting fix redirects water, separates the native soil from the new base, and gives horses a compacted, drainable surface where they stand and turn most.
Mud is more than an ugly winter nuisance. It can make footing unstable, track manure and sediment into runoff, and keep hooves and lower legs wet long enough to raise concerns about thrush, abscesses, and pastern dermatitis, often called scratches or mud fever.
The good news is that you rarely need to rebuild every acre. A well-planned heavy use area around a gateway, shelter, feeder, or water source can protect the places horses damage first and give the rest of the pasture a chance to recover.
This guide explains what causes the problem, how to assess it after rain, and how to build an all-weather paddock surface in layers. It also covers the tempting shortcuts that fail, because knowing what not to do can save a second round of excavation.
Table of Contents
A permanent muddy paddock fix starts with drainage, separation, and compaction.
To fix a muddy horse paddock that stays fixed, move clean water away from the turnout, remove or reshape the saturated surface where needed, lay geotextile over prepared soil, add well-graded angular stone in compacted layers, and protect the finished area with regular manure removal. The order matters because a beautiful gravel layer still sinks when water and fine soil are allowed to mix underneath it.
- Send water elsewhere. Identify roof runoff, uphill flow, low spots, and trough overflow before selecting footing.
- Build a stable foundation. Grade the area, use a separator where the soil is soft, and install a compacted stone sub-base of adequate depth.
- Manage the surface. Pick manure, repair ruts early, and keep high-traffic activities on the reinforced area rather than on grass.
Plain-language definition: A heavy use area is a deliberately reinforced portion of a turnout where horses gather, eat, drink, enter, exit, or wait. It may also be called a dry lot, sacrifice area, or all-weather turnout, depending on how it is used.
That three-part approach answers the question behind most failed repairs. Gravel is not a drain by itself, fabric is not magic by itself, and a dry-looking surface is not sound if it has no compacted base underneath.
Muddy paddocks form when water, weak soil, and concentrated horse traffic meet.
Rain is only one part of the story. A paddock becomes chronically muddy when water remains on or within the soil while hoof traffic repeatedly breaks down plant cover and compacts the ground.
Compacted soil stops water from moving through the root zone.
Horse hooves apply intense point pressure, especially at turns, gates, and standing areas. Repeated traffic squeezes air out of the topsoil, reduces its ability to accept water, and leaves puddles where rainfall once soaked in.
Once grass is gone, bare soil takes every hoof impact directly. The churned fines turn to slurry, and a horse looking for traction pushes that slurry farther outward from the original wet spot.
Surface water follows the lowest route through a turnout.
Water running off a barn roof, driveway, hill, or neighboring field may cross the paddock long after the rain stops. A trough that overflows, a downspout that empties by the gate, or a compacted lane that acts like a channel can keep one area wet even when the rest looks dry.
Watch the property during a steady rain and again several hours later. The route water takes, rather than the place where the deepest mud happens to be, points to the cause that needs correction.
Horse routines create predictable heavy-traffic damage.
Horses repeat routes to the gate, shelter, water, hay, and preferred fence line. A small turnout with several horses concentrates that traffic, while an underused corner may remain firm only a few yards away.
Feeders and water stations can create a ring of mud because horses stand there for long periods and pivot as they leave. Gateways worsen because animals bunch together, stop, and turn in a narrow space.
Manure and organic debris hold moisture at the surface.
Manure, wasted hay, leaves, and loose bedding can trap water and turn into a slick organic layer. They also make it harder to see a rut or failing edge before a horse steps into it.
Forum discussions repeatedly identify frequent manure removal as the maintenance job that makes the largest day-to-day difference. It does not replace construction, but it protects the drainage and footing you paid to create.
Clay, shallow groundwater, and frozen ground change the repair plan.
Clay-rich soil drains slowly, so a thin layer of stone over clay often pumps fines upward and disappears. A high water table may require a different drainage approach or professional input, because digging deeper can put the base closer to persistent groundwater rather than farther from it.
In cold areas, frozen soil and spring thaw can temporarily trap water above the surface. In dry climates, a brief storm can still create mud when compacted ground cannot absorb rainfall fast enough.
Assessing the site after rain reveals what must be fixed before adding stone.
Do the assessment when the problem is visible. A dry-day inspection is helpful for measuring, but it can hide runoff paths and make a low spot look harmless.
- Map the wet areas. Mark puddles, ruts, standing zones, gates, troughs, shelter doors, feeding spots, and the routes horses travel between them.
- Find the water source. Check roof lines, downspouts, driveway edges, uphill grades, leaking automatic waterers, and any place runoff enters the turnout.
- Test the soil condition. Note whether hoofprints stay shallow on firm soil, sink several inches, or bring wet fines to the surface when stepped on.
- Measure the work area. Multiply length by width for each pad or lane, then add room for turning and cleaning equipment.
- Plan a safe outlet. Water needs a route away from the paddock that does not dump sediment, manure, or fast flow onto a neighbor’s property, a stream, or another problem area.
Tip: Take photos from the same fence post during and after rain. They show where the water entered, how far the muddy zone spreads, and whether a repair changes the pattern over time.
Use a long straight board with a level, a string line, or a laser level to understand grade. Research for equine heavy-use areas commonly refers to a gentle two to three percent slope for drainage, meaning a drop of roughly two to three feet over one hundred feet; the correct direction matters more than chasing a particular number.
The finished surface should shed water without creating a fast chute under horses’ feet. If the natural fall points toward the barn, a gate, or a waterway, plan a swale, diversion, or properly designed drain before you build the pad.
Planning a heavy use area gives horses firm footing without sacrificing the whole pasture.
A heavy use area horse plan targets behavior instead of fighting mud everywhere. It gives horses a durable place for daily traffic, while grassed areas are rested, rotated, or used only when conditions allow.
A practical pad is large enough for horses to move and for people to clean it.
The research base for this topic cites a planning range of 400 to 600 square feet per horse as a minimum for a dry lot or heavily used turnout. Treat that as a starting point, not a universal rule: herd temperament, turnout time, hay placement, shelter size, and local rules may call for more room.
A single gate pad can be narrow because it serves as a passage, but an all-day turnout cannot. Crowding turns even good horse paddock footing into a churned surface because horses have no way to avoid each other’s tracks.
The best location is dry by nature and convenient by routine.
Place a new pad on higher, naturally draining ground when the property allows it. Moving a feeder or water point a short distance to a better site may be less work than trying to defeat a hillside spring in the old location.
Allow access for a wheelbarrow, tractor, manure cart, and delivery vehicle before drawing the final shape. A pad that cannot be cleaned or topped up easily tends to lose its advantage.
Water, hay, and shelter should spread traffic instead of concentrating it in one hole.
Keep water on a reinforced pad, and give the trough enough surrounding surface that horses are not standing half on stone and half in mud. Direct overflow away from the pad and service the float or valve promptly if it drips.
Place hay where horses have standing room and where wasted hay can be removed. In a larger sacrifice area, shifting feeding locations within the reinforced footprint prevents one small bowl-shaped depression from taking all the damage.
At shelters, extend the built surface beyond the doorway. Horses pause, turn, and crowd at the entrance, so stopping the base exactly at the threshold leaves a muddy lip where footing is most important.
A lane needs width, drainage, and a firm transition at both ends.
High-traffic lanes are useful when horses must travel between turnout sections, but they need a surface that can tolerate hooves, equipment, and water. Keep runoff from entering the lane from its sides, and avoid making the lane the lowest channel on the property.
Where a reinforced lane meets grass, taper the edge and maintain vegetation outside it. A sudden drop from stone to soft ground catches water and encourages the muddy zone to creep outward.
Wet and dry climates need different priorities.
In a consistently wet climate, roof-water diversion, swales, and stable base depth deserve extra attention. The goal is to stop recurring water from crossing the pad, not merely to give it a gravel surface.
In a drier climate, a durable pad still helps at troughs, gates, and feeding stations, but dust and loose surface material can become the concern between storms. Keep the surface compact and inspect it after rare heavy rain, when dry ground may shed water instead of absorbing it.
Good footing materials work as a layered system rather than as a single quick fix.
Material names vary by region, so ask a local aggregate yard for gradation and particle shape rather than ordering by a generic nickname. The objective is a compacted, angular base that locks together and a horse-appropriate top surface, not a pile of round rock.
Angular, well-graded stone creates a compacted sub-base.
Crushed gravel for a horse paddock normally refers to angular stone containing a range of particle sizes that can interlock under compaction. The larger pieces carry load while smaller pieces fill voids, making a firmer layer than uniformly rounded rock.
Research commonly points to a six-inch minimum gravel depth for a lasting all-weather surface, but soil strength, traffic, drainage, and frost conditions can require more. A contractor or local extension professional can help match the base depth and gradation to the site.
A top layer should be stable enough for hooves yet not sharp or loose. Before committing to a material, inspect a sample in person, ask how it packs, and discuss it with a knowledgeable local horse professional who understands your soil and use case.
Geotextile fabric keeps soil and stone from mixing.
Geotextile fabric for a paddock is a permeable separator placed between prepared native soil and aggregate. It allows water to pass while helping stop fine soil from migrating into the stone and stone from sinking into soft subgrade.
Fabric does not correct poor grading or replace enough aggregate. It supports the system by preserving the boundary between layers, which is why it must be laid on prepared ground with overlaps and protected from tears during installation.
Cellular grids distribute hoof load but still need base preparation.
Mud control grids for horses can spread weight over a wider area and help hold fill in place. Forum users often describe grids as effective but expensive, and their experience matches the central planning rule: a grid installed over wet, uncorrected soil has limits.
Use the grid specification and fill guidance supplied for the particular system, and consider it part of the surface design rather than a substitute for drainage. Make clean, secure edge transitions so a lifted corner cannot become a trip hazard.
Wood chips can be a temporary surface, not a permanent base.
Wood chips may provide a softer, lower-cost short-term cover in a lightly used area, particularly where a permanent rebuild must wait. They break down, retain moisture, mix with manure, and need replacement, so they do not solve a drainage failure below them.
Avoid treated wood, unknown recycled material, and chips with sharp or hazardous debris. If chips are used, remove manure and decaying material regularly, then keep the base plan separate from the temporary surface plan.
Sand and lime are not simple cures for saturated turnout soil.
Sand can make some engineered footing systems work, but adding sand to a muddy paddock without a designed base can create unstable conditions. Horse owners also raise a legitimate management concern: horses eating hay directly from sandy ground may ingest sand, so feeding practices matter.
Lime may dry or firm a surface briefly in some circumstances, but it does not redirect water or provide a structural base. Community reports consistently describe it as temporary, so it should not be presented as the answer to a chronic wet paddock.
Warning: Do not cover deep mud with a thin layer of gravel and turn horses back out. The stone can sink into the slurry, surface again unevenly, and leave a harder-to-repair mixture of soil and aggregate.
How to fix a muddy horse paddock with a drainage-first installation sequence.
The following sequence suits a targeted heavy use area, such as a gate, trough pad, shelter front, feeding station, or small dry lot. Large projects, sites with major runoff, shallow groundwater, unstable slopes, or drainage near waterways may need advice from a qualified local contractor, engineer, or extension service before excavation begins.
Step 1: Move horses away from the work zone and choose dry working conditions.
Set up a temporary turnout with safe fencing, water, shelter, and enough room for the horses while the area is under construction. Heavy equipment, open excavations, rolls of fabric, and loose aggregate are not safe to share with loose horses.
Start after the ground is dry enough for equipment to work without making the damage larger. If the site is saturated, first handle the water source and wait for conditions that let you grade and compact the subgrade properly.
Step 2: Divert roof and uphill water before constructing the pad.
Route downspouts to a stable outlet away from the turnout, and repair leaking troughs or hydrants. On a slope, use a shallow diversion or swale above the pad so clean runoff goes around it rather than through it.
A French drain alternative may be a simple surface swale when runoff is shallow and there is a safe place for water to go. If you need subsurface drainage, use a design suited to soil, outlet elevation, and local regulations rather than digging a trench that merely fills with water.
Step 3: Mark the full footprint, including turning room and transitions.
Stake the finished outline wider than the current mud hole. Include the route where horses approach and leave, because stopping at the visible edge often creates a new muddy ring next to the repair.
For a gateway, extend the reinforcement inside and outside the opening. For a trough, include enough surface for several horses to stand and turn without one hoof landing on bare soil.
Step 4: Strip organic material and shape the native subgrade.
Remove manure, wasted hay, loose bedding, sod, roots, and soft organic muck from the footprint. Those materials decompose and move, so burying them under aggregate risks future settlement.
Excavate only as much as the site design requires, then shape the exposed subgrade to a gentle, planned fall toward the drainage outlet. Avoid digging a flat-bottomed basin that collects water beneath the new footing.
Compact the shaped soil when conditions and soil type allow. The aim is a firm, even platform; wet clay that squishes under equipment is a sign to address moisture rather than forcing compaction.
Step 5: Lay the separator fabric smoothly and protect its overlaps.
Cover the prepared subgrade with the selected geotextile, following the supplier’s overlap direction and overlap amount. Run overlaps so water and traffic do not pry them open, and carry the fabric far enough to support the entire stone footprint.
Do not drive sharply or spin tires directly on exposed fabric. Place aggregate carefully from the edge or use equipment methods that keep the fabric from tearing, stretching, or folding into ridges.
Tip: Photograph the graded subgrade and installed fabric before stone covers them. Those photos are useful later if you need to find a drain route, prove the layer sequence, or diagnose a localized failure.
Step 6: Install the structural stone base in compacted lifts.
Place the chosen well-graded angular aggregate in manageable layers rather than dumping the whole depth at once. Compact each lift with equipment appropriate to the project, then check that the surface remains evenly graded toward its planned outlet.
Repeated passes with a plate compactor are commonly used on small work areas, while larger projects may need heavier equipment. Do not mistake a smooth surface for a compacted one; loose stone may look tidy until horses and rain expose weak spots.
The informal snowball test mentioned in equine mud-management discussions can be a quick field clue: a handful of properly graded, moist fines should hold together when squeezed and break apart when disturbed rather than staying powdery or oozing wet. It is only a practical check, not a replacement for proper material selection and compaction.
Step 7: Add a horse-appropriate finish and secure every edge.
Install the specified top layer or filled grid system over the compacted base. The final surface should be even, drainable, and comfortable for the use you expect, with no sharp protrusions, deep loose pockets, or abrupt ledges.
Contain the aggregate with a designed edge where needed, especially where a lane meets grass or an equipment path. The edge should support cleanup and drainage without creating a rigid obstacle that a horse can strike.
Walk the finished pad in boots, then observe horses on it calmly before assuming the job is done. Look for rocking stone, pooling water, loose material at edges, and places where horses consistently step around the pad instead of using it.
Step 8: Reopen the area gradually and inspect after the first storms.
Return horses once the work zone is clean, stable, and free of equipment hazards. Check it after the first significant rainfall, because that is when incorrect grade, blocked drainage, and edge failures become obvious.
Correct a small puddle, thin spot, or washed edge immediately. Early repair usually means adding or reshaping a small amount of material, while a neglected depression can direct more water into the base and expand quickly.
Maintenance keeps a well-built all-weather paddock from becoming muddy again.
A permanent repair is durable, not maintenance-free. The work that protects it is simple but regular: remove organic material, preserve drainage paths, and repair defects while they are small.
Daily or near-daily manure removal protects footing and drainage.
Pick manure as often as the number of horses and turnout use demand, with daily removal being a sensible goal in a small, heavily used area. Remove wasted hay and wet bedding at the same time so they do not form a moisture-holding mat over the surface.
Use tools that suit the footing and avoid digging aggressively into the finished layer. The goal is to lift manure without pulling the aggregate or surface fill out of place.
Seasonal inspections catch water problems before they reshape the base.
- Before wet seasons: clear swales, gutters, drain inlets, and trough overflows; inspect edges and add material to shallow spots.
- During prolonged rain: watch where water enters and leaves; keep horses out of any area that has become deeply rutted or slick.
- After freezing and thawing: inspect for heaving, soft edges, clogged outlets, and settled zones around shelters and gates.
- During dry periods: remove accumulated organic debris, assess dust or loose footing, and schedule major repairs before the next wet cycle.
Small ruts should be repaired before they become water traps.
Ruts collect water, soften, and attract more hoof traffic because horses often follow familiar routes. Remove the cause first, such as a downspout discharge or a narrow traffic pattern, then restore grade and compact matching material in the damaged area.
If the same rut returns, the repair is signaling a design issue. Widen the reinforced footprint, improve the transition, shift a feeder, or review whether the base is deep enough for the load.
Horse health deserves attention while muddy footing is being corrected.
Standing in mud is bad for horses when it keeps hooves and skin wet, exposes them to dirty footing, and makes stable movement difficult. Persistent wet conditions are associated with problems such as thrush and lower-leg skin irritation, while slippery or uneven ground can add strain during turns.
Check hooves and pasterns routinely in wet weather, clean them as appropriate, and contact a veterinarian or farrier about lameness, foul odor, discharge, heat, swelling, painful skin lesions, or a problem that does not improve. A paddock repair supports health management, but it is not a diagnosis or treatment plan.
Mud fever does not have a safe one-size-fits-all timeline for healing. Because skin infections and irritation can worsen or resemble other conditions, a veterinarian should advise on an affected horse rather than relying on the paddock fix alone.
Most failed mud repairs can be diagnosed by looking at when and where they fail.
A repair that fails after the first rain usually has a water-routing problem, an inadequate base, or both. A repair that looks good until several horses use it may be undersized, poorly compacted, or missing a stable edge transition.
Gravel that vanishes points to soil mixing or insufficient structure.
When stone disappears into mud, do not keep adding thin layers blindly. Expose a small test area to see whether fabric is missing or damaged, whether the subgrade remains saturated, and whether the base depth is enough for the soil and traffic.
Then correct the water issue, rebuild the separation layer where needed, and place aggregate in a compacted system. This costs more effort than another surface load, but it addresses the reason the stone is sinking.
Water pooling on top points to grade, compaction, or clogged outlets.
Check whether the low point is inside the pad, whether an edge is trapping water, or whether roof runoff now enters the area. A shallow surface depression can often be corrected with matching material and compaction, but widespread ponding calls for revisiting the grade plan.
Mud spreading beyond the pad means the active footprint is too small.
Horses may be stepping around a feeder, queuing at a gate, or turning just outside the reinforced area. Extend the pad where actual hoof traffic occurs, not only where the original drawing said it would occur.
This is particularly common in multi-horse turnouts. More horses do not simply mean more square footage; they also mean more passing, waiting, and turning at shared resources.
How to fix a muddy horse paddock that actually stays fixed means fixing the system, not hiding the mud.
The durable answer is straightforward: keep water from crossing the turnout, build a sized heavy use area on a prepared and separated base, use compacted angular aggregate or a specified grid system, and maintain it with manure removal and early repairs. Start with the worst gate, trough, shelter, or feeding area, then let the results guide the next section of your horse mud management plan.
Common muddy horse paddock questions have practical, drainage-first answers.
How do you fix a muddy horse paddock?
Fix a muddy horse paddock by first diverting roof runoff, uphill flow, and trough overflow. Then grade a heavy-use area to shed water, place geotextile over firm prepared soil, add and compact angular aggregate in layers, and remove manure regularly. Thin gravel placed directly over deep mud usually sinks and fails.
How do you firm up muddy ground for horses?
Firm muddy ground by removing organic muck, correcting the water source, shaping a gentle drainage slope, separating soft soil from aggregate with geotextile, and compacting a well-graded angular stone base in layers. The material must be sized and finished for horse footing; do not rely on a surface-only layer.
What is the best material for a muddy horse paddock?
For a durable base, well-graded angular crushed stone is commonly used because the particle sizes interlock under compaction. A geotextile separator helps prevent soil and stone from mixing on soft ground. The right top surface and base depth depend on soil, climate, drainage, and local aggregate, so inspect samples and seek site-specific advice when needed.
Can I use sand to fix a muddy horse paddock?
Sand alone is not a dependable cure for a muddy horse paddock. Without a designed base and drainage plan, it can mix with wet soil and create unstable footing. Sand also needs careful feeding management because horses can ingest it when hay is fed directly on sandy ground.
Is standing in mud bad for horses?
Persistent mud can make footing unstable and keeps hooves and lower legs wet and dirty. That can contribute to concerns including thrush and pastern skin irritation. Check horses regularly and ask a veterinarian or farrier about pain, lameness, swelling, foul odor, discharge, or skin lesions.
How much space does a horse need in a dry lot?
A research-based planning range is 400 to 600 square feet per horse as a minimum for a dry lot or heavy-use turnout. Actual needs can be higher based on herd behavior, turnout duration, feeding layout, shelter access, local requirements, and the room needed for safe movement and cleaning.