
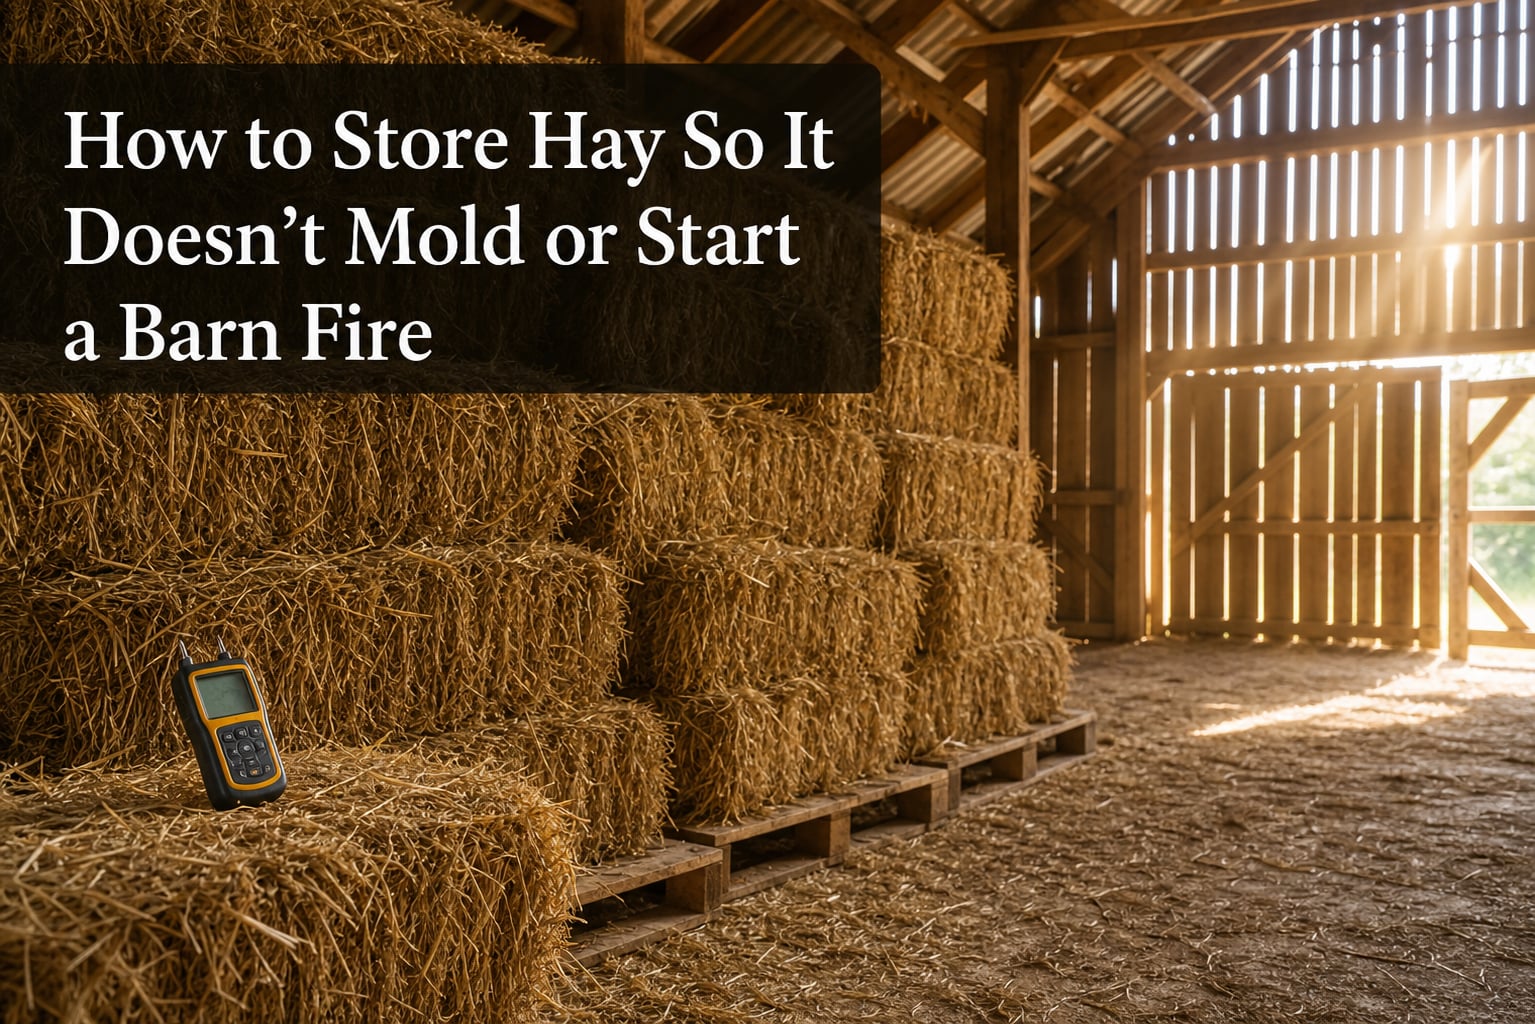
Learning how to store hay properly is one of the most important skills any farmer, homesteader, or livestock owner can master. Baled forage represents a significant financial investment, and poor storage can destroy that investment in a matter of weeks. Even worse, incorrectly stored hay can spontaneously combust and burn your barn to the ground.
This guide covers everything from moisture content thresholds and stacking patterns to temperature monitoring and fire prevention. By the end, you will know exactly how to protect your hay from mold, heating, and fire so your livestock gets quality feed all winter.
Our team has pulled together research from university extension programs, forum discussions from working farmers, and field-tested strategies to give you a single comprehensive resource. No competitor covers mold prevention, fire prevention, and proper storage techniques together in one place. That is exactly what we aim to fix here.
Table of Contents
Why Proper Hay Storage Matters?
Storing hay the wrong way costs you money, endangers your animals, and risks your buildings. When moisture gets into baled forage, it triggers a biological chain reaction that can spiral out of control fast.
Moldy hay can sicken or kill livestock. Horses are especially sensitive to mold spores, which can cause respiratory disease and colic. Cattle are more tolerant, but moldy feed still reduces weight gain and milk production. If you are feeding animals that depend on quality nutrition, mold is not just a nuisance. It is a health threat.
Then there is the fire risk. When hay is baled too wet, microbes inside the bale start breaking down the plant material. This process generates heat. If the internal temperature climbs high enough, the hay can spontaneously combust without any external flame. Barn fires caused by spontaneous combustion are devastating, and they happen every single year to farmers who thought their hay was dry enough.
On top of safety concerns, poorly stored hay loses nutritional value rapidly. Protein levels drop, vitamins degrade, and palatability declines. Animals eat less, perform worse, and you end up buying more feed to compensate. Proper storage protects your investment and your animals.
Understanding Moisture Content: The Number One Factor
If you take only one thing away from this guide, let it be this: moisture content is the single most important factor in safe hay storage. Everything else, from stacking patterns to ventilation, is secondary if your hay goes into storage too wet.
Here are the generally accepted moisture thresholds for safe storage by bale type:
Small square bales: Store at 18 to 20 percent moisture or below. These bales are dense but small enough to dissipate some heat, so they tolerate slightly higher moisture than large bales.
Large round bales: Store at 15 to 18 percent moisture or below. Round bales are large and hold heat, so the moisture margin is tighter.
Large square bales: Store at 14 to 16 percent moisture or below. These are the densest bales and hold heat the longest, requiring the lowest moisture content for safe storage.
Why do these numbers matter? When moisture exceeds safe levels, naturally occurring bacteria and fungi inside the bale begin feeding on the plant material. This microbial activity generates heat through respiration. As the temperature rises inside the bale, the conditions become even more favorable for thermophilic (heat-loving) bacteria, which accelerate the process further.
This creates a dangerous feedback loop. More moisture means more microbial activity, which means more heat, which means more microbial activity. The only way to break this cycle is to bale at the right moisture level and store in conditions that prevent additional moisture from entering the bale.
Ground moisture is a sneaky culprit. Even if you baled at the perfect moisture level, hay sitting directly on soil or concrete will absorb moisture from below. This is why elevation is non-negotiable, which we cover in the step-by-step section below.
Use a moisture probe to check bales before stacking. You can find handheld digital moisture meters for under $100, and they pay for themselves the first time they save you from stacking a wet bale in the middle of your stack.
How to Store Hay: Step-by-Step Guide
Learning how to store hay correctly comes down to following a series of steps that control moisture and promote airflow. Skip any of these steps and you are rolling the dice with your feed investment.
Step 1: Bale at the right moisture level. Check moisture with a probe before baling. Wait for a window of dry weather with low humidity. If you are unsure, wait another day. A delayed cutting is better than a barn fire.
Step 2: Cure bales in the field before stacking. Let freshly baled hay sit for 24 to 48 hours so residual moisture can dissipate. Do not rush bales into a tight stack while they are still warm from the field.
Step 3: Choose the right storage location. Pick a well-drained site away from trees and standing water. The ground should slope away from the storage area so rain runs off, not toward your bales.
Step 4: Elevate bales off the ground. Use pallets, railroad ties, tires, or a layer of coarse gravel to keep bales at least 6 inches above the soil. Ground contact is one of the most common causes of moldy hay, as moisture wicks upward into the bale.
Step 5: Stack for maximum airflow. Leave space between bales and between rows. Air needs to circulate around every bale to carry away moisture and heat. We cover specific stacking patterns in the next section.
Step 6: Provide ventilation. If storing indoors, make sure your barn has ridge vents, side vents, or windows that allow hot, moist air to escape. In still air, moisture has nowhere to go.
Step 7: Monitor temperature for the first six weeks. This is the critical danger window for spontaneous combustion. Check internal bale temperatures with a hay probe every few days during this period.
Step 8: Use FIFO rotation. Feed the oldest hay first to minimize the time any bale spends in storage. Label or date your stacks so you know which bales to pull from.
Indoor vs Outdoor Hay Storage
Indoor storage is almost always the better option for hay preservation, but not everyone has a barn. Let us compare both approaches so you can make the right call for your situation.
Indoor storage offers the best protection from rain, snow, and UV degradation. Hay stored in a well-ventilated barn can retain 90 to 95 percent of its dry matter and nutritional value over a full season. The downside is cost, as building or maintaining a hay barn requires a real investment. Indoor storage also concentrates fire risk, so temperature monitoring becomes even more important when large quantities are stored together.
Outdoor storage is the reality for many small farms and operations without dedicated barn space. Round bales are better suited for outdoor storage because their rounded shape sheds some water. Small square bales stored outdoors will absorb significant moisture and lose 15 to 25 percent of their dry matter in a single season.
If you must store outdoors, follow these rules. Stack on pallets or gravel, never on bare soil. Orient bales in rows running north to south so the sun hits both sides during the day. Cover with a UV-resistant tarp that is sized to protect the top and sides while allowing airflow underneath. Check tarps after every major storm, as wind can shift them and expose bales.
One interesting tip from homesteaders on Reddit and Permies: some farmers build simple hoop structures using PVC pipe bent into arches and covered with greenhouse plastic. This creates a low-cost storage shed that keeps rain off while allowing cross-ventilation through the open ends.
The bottom line: indoor storage preserves hay better, but properly managed outdoor storage can work if you are disciplined about elevation, tarping, and orientation.
Hay Stacking Techniques for Airflow
How you stack your bales directly determines whether air can circulate through your hay storage. A poorly stacked barn is a mold factory, no matter how dry the hay was when it went in.
The pyramid method is the most popular stacking pattern for small square bales. Start with a base row of bales placed cut-side up, then stack the next layer cut-side down, alternating direction with each layer. This creates natural air channels between layers and keeps the stack stable.
Crisscross stacking involves turning each layer 90 degrees from the layer below it. This pattern is stable and creates gaps at the corners where air can move through. Many farmers prefer this for its combination of stability and airflow.
Leave gaps between rows. Even within a well-styled pyramid stack, you should leave 6 to 12 inches of space between each row of bales. This allows air to flow through the stack rather than getting trapped in the middle where heat builds up.
Stack bales on their edges. If baling with twine, position bales so the twine faces the sides, not the ground. This orientation keeps moisture from wicking along the twine and reduces mold growth along the strings. Baling wire is less of a concern, but the same principle applies.
For round bales stored outdoors, stack in single rows with the flat ends touching. This minimizes the surface area exposed to rain. Never stack round bales in pyramids outdoors, as the bales on top will channel rain down onto the ones below.
A creative DIY solution shared on farming forums involves driving rebar stakes between bale rows and sliding PVC pipes over them. This creates rigid ventilation channels that keep bales separated even as the stack settles over time. It is low-cost and surprisingly effective.
Ventilation Requirements and Techniques
Ventilation is the silent hero of hay storage. Without moving air, moisture evaporating from bales has nowhere to go. It condenses on cooler surfaces, drips back onto the hay, and starts the mold cycle all over again.
If you are storing indoors, your barn or shed needs both intake and exhaust ventilation. Intake vents near the floor allow fresh air in, while exhaust vents near the roofline let warm, moist air escape. This creates a natural convection current that pulls moisture out of the building.
Ridge vents along the peak of a barn roof are one of the most effective exhaust solutions. Combined with open eaves or side vents, they keep air moving through the storage area even on calm days. If your barn does not have ridge vents, consider adding them. The investment pays off quickly in hay quality.
For smaller storage areas or still-air barns, an oscillating fan can make a real difference. Run it on low during humid weather to keep air moving across the face of your hay stack. Just make sure the fan is rated for agricultural use and positioned where it will not overheat.
Outdoor storage relies on natural wind for ventilation. This is why spacing between rows matters so much. A solid wall of bales blocks wind and traps moisture. Leave gaps and orient rows to take advantage of prevailing winds in your area.
Watch for condensation on the underside of metal roofs. This is a common but overlooked problem. Warm, moist air from curing hay rises, hits the cold metal roof, and condenses. The resulting drips can soak the top layer of bales even when no rain has fallen. A vapor barrier or a layer of old hay on top can absorb this condensation before it reaches your good bales.
How to Store Hay So It Doesn’t Mold
Mold prevention comes down to one principle: keep moisture out of the bale. Once moisture enters, mold spores that are naturally present on all plant material begin to grow. Here is a checklist of strategies to keep your hay mold-free.
Bale at the right moisture. This cannot be overstated. If hay goes into the bale at 22 percent moisture, mold is almost guaranteed. Wait for the right conditions, even if it means leaving cut hay in the windrow an extra day.
Elevate every bale. Ground moisture is the number one cause of mold on the bottom layers of a stack. Pallets, gravel pads, or even a thick layer of old straw will break the capillary action that pulls moisture up from the soil.
Use rock salt as a desiccant. Some farmers spread agricultural-grade rock salt on the floor of their storage area before stacking. The salt absorbs moisture from the air and helps keep the floor dry. This is an old-school trick that still works.
Check bales before accepting delivery. If you buy hay rather than baling your own, use a moisture meter on random bales from each load. Reject any load that exceeds safe moisture levels. It is better to find another supplier than to fill your barn with hay that will mold.
Watch for the warning signs. Moldy hay often has a musty or sour smell. You may see white, gray, or black patches on the bale surface. Bales that feel unusually warm to the touch are actively composting and should be fed immediately or removed from storage.
Avoid stacking too tightly against walls. Leave at least a foot of space between your hay stack and any wall. The dead air space against a wall is prime territory for condensation and mold growth.
Keep different moisture lots separated. If some bales came off a wetter part of the field, stack them together in a separate area where they can be monitored and fed first. Do not mix wet bales throughout your stack, as one moldy bale can spread spores to its neighbors.
Temperature Monitoring and Barn Fire Prevention
Hay fires caused by spontaneous combustion are preventable. The key is monitoring internal bale temperature during the first six weeks of storage, which is when the danger is highest. If you catch rising temperatures early, you can take action before the situation becomes dangerous.
Here is what the temperature readings tell you:
Below 120 degrees F: Normal. Hay is stable and safe. Continue routine monitoring.
120 to 130 degrees F: Caution zone. Microbial activity is elevated. Check temperature daily and improve ventilation around the stack.
130 to 140 degrees F: Warning zone. The hay is entering a danger range. Move bales apart to improve airflow and prepare to remove hot bales from the stack.
140 to 160 degrees F: High alert. Check temperature every four hours. Bales at this temperature are approaching the threshold where spontaneous combustion becomes possible.
170 degrees F and above: Critical danger. At this temperature, spontaneous combustion can occur at any time. Call the fire department immediately, evacuate the barn, and do not attempt to move bales without professional help. Moving hot hay can introduce oxygen and trigger immediate ignition.
To check hay temperature, you need a hay probe. A commercial probe is a long metal tube with a thermometer at the tip that you drive into the bale. If you do not have one, you can build a DIY probe using a 10-foot length of half-inch pipe. Cap one end, drill small holes along the last foot of the tube, and lower a thermometer on a string down into the pipe after driving it into the bale. Leave it in place for 15 to 20 minutes to get an accurate reading.
Focus your temperature checks on the bales you are most worried about. These include bales from the wettest part of the field, bales stored in the center of the stack where heat dissipates slowest, and bales from any load that came in during humid conditions.
Beyond monitoring, fire prevention means keeping your storage area clear of ignition sources. No smoking near hay storage. Keep electrical wiring in good condition and protected from rodents. Do not park hot equipment next to hay bales. Store fuels and chemicals in a separate building.
Keep a charged fire extinguisher accessible near the entrance to your hay storage area. Make sure your local fire department knows the location of your hay storage and has access information. In rural areas, response time matters, and pre-planning can save lives.
If you suspect a fire is developing, do not open up the stack looking for the hot spot. Introducing oxygen to smoldering hay can cause it to burst into flames instantly. Call professionals and let them handle it with thermal imaging equipment.
First In, First Out: The FIFO Rotation System
The FIFO method is borrowed from inventory management and applied to hay storage with excellent results. The idea is simple: feed the oldest hay first, so no bale sits in storage longer than necessary.
Every additional month in storage means more nutritional loss. Even under good conditions, hay loses vitamins and some protein over time. By rotating your stock, you ensure that animals always get the freshest possible feed.
To implement FIFO, label your stacks by cutting date or load number. When it is time to feed, pull from the oldest stack first. This sounds obvious, but it is easy to grab the closest bale instead of walking to the back of the barn for the one that has been sitting there since June.
Keep a simple log. Note the date each load was stored, the number of bales, and the moisture reading. This takes five minutes per load and saves you from guessing later.
Climate-Specific Hay Storage Tips
Hay storage challenges vary dramatically by region. What works in the arid West will not work in the humid Southeast. Here are strategies tailored to different climate types.
Humid climates (Southeast, Gulf Coast, Northeast): The challenge here is high ambient humidity that makes it difficult to cure hay to safe moisture levels. Consider using preservatives or propionic acid treatments on hay baled at higher moisture. These products inhibit mold growth and are safe for livestock. Increase spacing between bales and use aggressive ventilation. Store indoors whenever possible, as outdoor storage in humid climates leads to rapid spoilage.
Arid climates (Southwest, Mountain West): Low humidity makes curing easier, but UV radiation from intense sun degrades hay quality on exposed surfaces. If storing outdoors, use UV-resistant tarps and replace them before they become brittle. Wind is your friend for ventilation but can shift tarps, so secure them well. Watch for flash floods that can suddenly saturate ground-level bales.
Cold climates (Northern Plains, New England): Cold weather slows microbial activity, which reduces both mold and fire risk after the first hard freeze. However, hay put up late in the season may not have time to cure properly before cold weather arrives. Be extra cautious with late cuttings. Snow load on barn roofs is a structural concern, so make sure your barn can handle winter weight. Plow snow away from storage areas to prevent meltwater from reaching bales.
Wet winter climates (Pacific Northwest): Persistent rain and moderate temperatures create constant mold pressure. Indoor storage is essential here. If outdoor storage is unavoidable, invest in high-quality tarps and check them after every major storm. Consider wrapping late cuttings as haylage rather than trying to dry them in short autumn weather windows.
Local university extension offices are excellent resources for region-specific advice. They know the disease pressures, weather patterns, and forage types common in your area. Many offer free hay storage publications tailored to their state.
Frequently Asked Questions
How to store hay so it doesn’t mold?
To prevent mold, bale hay at 18 to 20 percent moisture or below for small square bales, 15 to 18 percent for round bales, and 14 to 16 percent for large square bales. Elevate every bale on pallets or gravel to stop ground moisture from wicking upward. Stack with 6 to 12 inches of space between rows for airflow. Store indoors whenever possible and keep bales at least a foot away from walls to prevent condensation.
How to keep hay from catching fire?
Hay fires are caused by spontaneous combustion when bales are stored too wet. To prevent fires, bale at safe moisture levels, let fresh bales cure for 24 to 48 hours before stacking, and monitor internal bale temperature for the first six weeks of storage. If temperature reaches 130 degrees F, improve ventilation. If it reaches 170 degrees F or higher, call the fire department immediately and do not move the bales.
How long is hay good for if stored in a barn?
Hay stored indoors under proper conditions can remain good quality for 2 to 3 years. However, nutritional value gradually declines over time, with the most significant losses occurring in the first 6 months. For best results, feed hay within 12 to 18 months of baling and use a FIFO rotation system so the oldest bales are always fed first.
How to properly store hay in a barn?
Start by elevating bales on pallets or a gravel base at least 6 inches off the ground. Stack using the pyramid or crisscross method with space between rows. Ensure the barn has ridge vents and side vents for airflow. Leave a foot of clearance between bales and walls. Check moisture before stacking and monitor temperature for the first six weeks. Store different moisture lots separately.
Can hay be stored outside without a barn?
Yes, but expect 15 to 25 percent dry matter loss over a season. Round bales handle outdoor storage better than small square bales. Always elevate bales off the ground, orient rows north to south for sun exposure, and cover with UV-resistant tarps. Never stack round bales in pyramids outdoors, as top bales channel rain onto lower ones.
Conclusion
Knowing how to store hay so it doesn’t mold or start a barn fire comes down to controlling moisture, promoting airflow, and monitoring temperature. Bale at the right moisture level, elevate your bales, stack for ventilation, and check internal temperatures during those critical first six weeks.
These practices protect your feed investment, keep your livestock healthy, and prevent the devastating losses that come with barn fires. Start with the basics: a moisture meter, some pallets, and a simple temperature probe. Those three tools plus the knowledge in this guide will carry you through every hay season.
Take action before your next cutting. Walk your storage area, check your ventilation, and make sure your bales have the airflow they need. A few hours of preparation will save you thousands of dollars and give you peace of mind all winter long.