
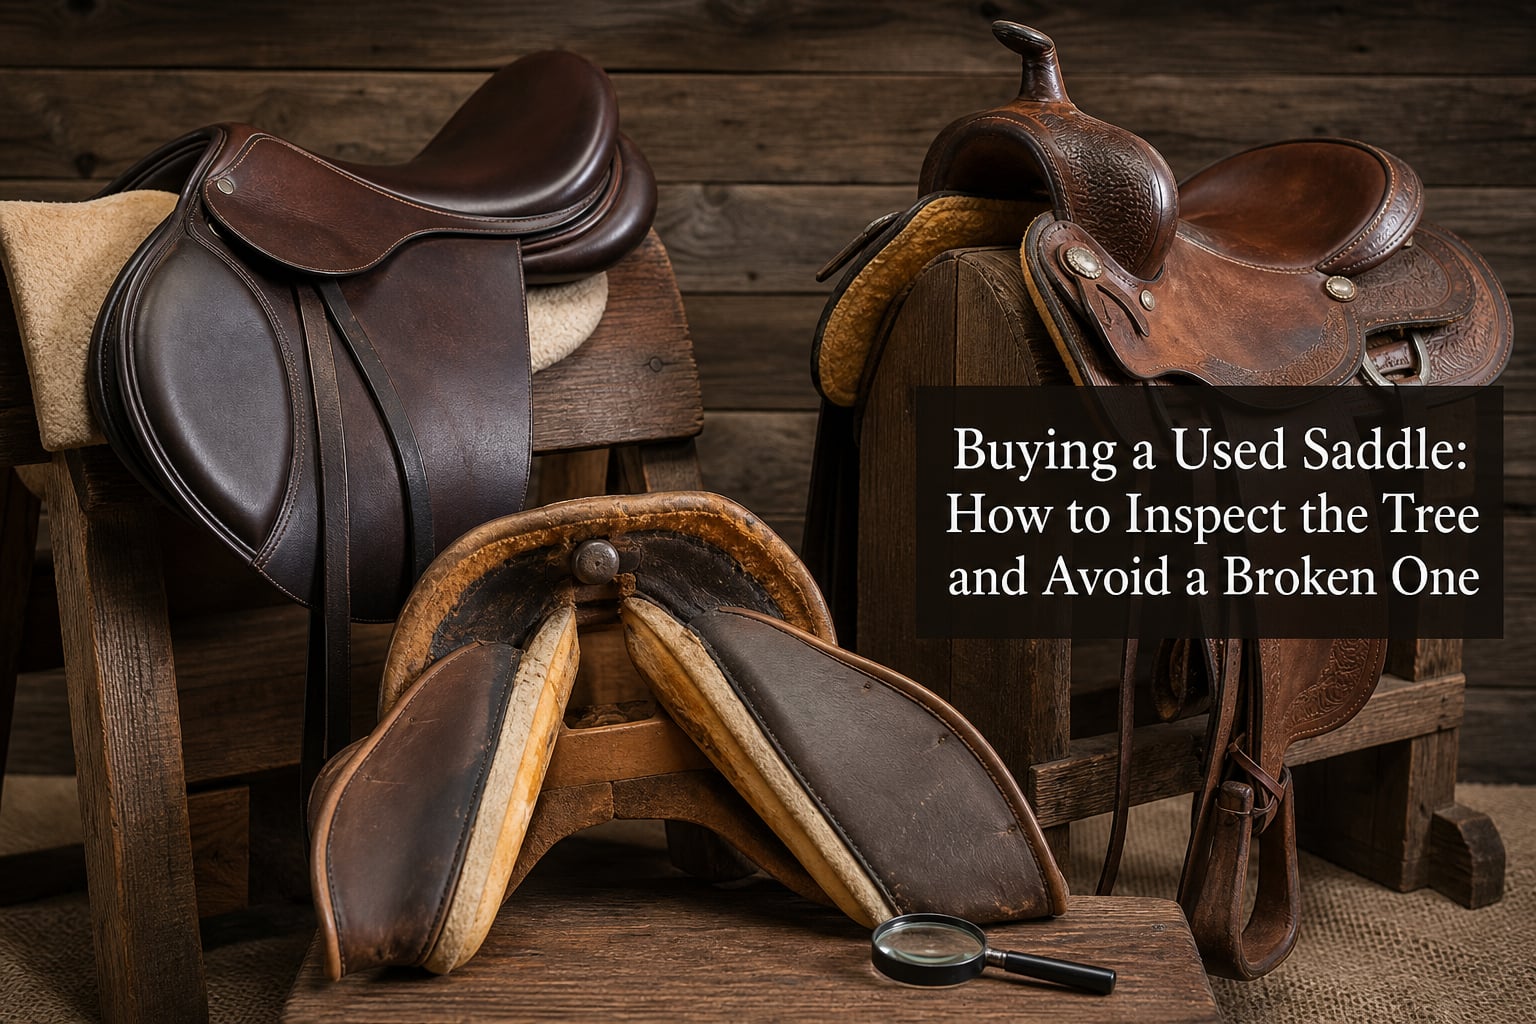
A used saddle can be a sensible find, but its appearance tells only part of the story. A thorough used saddle tree inspection matters because the tree is the saddle’s load-bearing frame: if it is broken or twisted, the saddle can concentrate pressure on a horse’s back and become unsafe for the rider.
This guide explains what to look at, what to feel, and when to stop the purchase. You can do the first pass yourself, yet a saddle fitter or qualified repair professional is the right final check whenever the saddle is intended for regular riding.
Do not let clean leather, a famous stamp, or attractive photos decide the purchase. The safest order is simple: inspect the tree first, then the panels, leather, stitching, and rigging, and only then consider whether the saddle fits horse and rider.
Table of Contents
A saddle tree is the rigid frame that spreads the rider’s weight.
The saddle tree sits under the leather and, depending on the saddle, may be made from wood, fiberglass, composite materials, or a combination. It gives the saddle its basic shape, creates clearance over the horse’s spine, and transfers the rider’s weight across a larger bearing area.
That job explains why a tree fault is more serious than a cosmetic scratch. A damaged frame can alter the angle of the bars or rails, make one side carry more load than the other, and change how the saddle behaves when a rider sits down.
Tree construction differs by type. Many Western saddles have a more rigid tree with a horn, while English saddles may use a fixed tree or a spring tree designed for limited, controlled flex; neither design should feel loose, lopsided, or noisy.
A broken tree has a fracture or failed joint, while a twisted tree has lost symmetry.
A broken saddle tree has a crack, split, separation, or other structural failure. It may produce a click, pop, or visible movement when pressure is applied, though leather and padding can hide the fault.
A twisted tree may remain in one piece but no longer sit square. From the front or rear, the two sides can appear at different angles or heights, and the panels may not meet a flat surface evenly.
Both defects can cause uneven pressure. I treat either one as a reason to pause the purchase and get a qualified opinion rather than trying to judge the saddle by its brand name or surface condition.
Used saddle tree inspection starts with a calm, hands-on six-step check.
Ask the seller for good light, level ground, and permission to handle the saddle before money changes hands. Remove any cover, pad, girth, cinch, or decorative accessories that hide the leather, fleece, panels, or rigging.
- Set the saddle level and look from the front. The pommel or fork should look centered, with the left and right sides matching in height and angle.
- Look from the back. The cantle should sit square, and the panels or skirts should not visibly favor one side.
- Look down the length of the saddle. Sight from pommel to cantle and then reverse direction; a straight, centered line is reassuring, while a corkscrew look is not.
- Press corresponding points on both sides. Use equal hand pressure at the front, middle, and rear, comparing firmness, movement, and sound side to side.
- Check the seat and edges. Feel for unusual dips, raised spots, fresh wrinkles, or leather distortion around the pommel, cantle, and waist.
- Listen and stop. A click, pop, creak paired with movement, or a feeling that one side gives more than the other warrants professional inspection.
The goal is comparison, not brute force. You are not trying to bend a sound saddle tree; you are checking whether the two sides respond alike and whether the frame remains stable under ordinary hand pressure.
A bird’s-eye view reveals twisting that close-up photos can hide.
Place the saddle on a stable stand or clean, level support and step back. View the channel, seat, pommel, and cantle from directly above rather than from one side.
The channel should run centrally, and the two halves should look like mirrors of each other. A channel that drifts left or right, a noticeably rotated cantle, or one panel extending farther outward can point to a twisted tree, uneven stuffing, or both.
Then turn the saddle around and repeat the view. A seller’s listing photographs often show the flattering side, which is why an in-person used saddle inspection is more informative than relying on images alone.
Equal pressure tests reveal different movement on each side.
Put one hand on each side near the front of the saddle, then repeat at the middle and rear. Press down with the same modest pressure on both sides and notice whether the saddle feels equally firm.
A healthy response is not necessarily rock hard; panel material and tree design vary. What matters is symmetry: one side should not sink, shift, or make noise when the matching point on the other side stays quiet and stable.
Repeat this test with the saddle turned around. If an odd sensation appears only at one location, mark it mentally and inspect the leather and underside in that exact area.
Seat wrinkles can be clues, not proof, of a damaged tree.
Look for new-looking horizontal wrinkles, distortion, or an unnatural sag in the seat leather, particularly near the pommel and the narrowest part of the seat. Riders often flag these changes because a fractured tree can allow the seat structure to move in ways it should not.
Wrinkles alone do not diagnose a broken tree. Leather can crease from age, storage, or use, so compare the seat clue with the symmetry test, hands-on pressure check, and any click or flex you notice.
Do not accept a statement that a wrinkle is “only cosmetic” without checking the structure underneath. The same principle applies to a soft spot hidden by a seat saver or a thick layer of conditioner.
Western saddle tree testing focuses on the horn, fork, bars, and cantle.
A Western saddle provides a few useful external reference points because the horn and fork are connected to the tree. Their presence does not make a visual inspection enough, but it can help you notice movement that would otherwise be covered by leather.
The horn-down test can expose a loose or broken Western tree.
With the seller’s permission, place the saddle horn-down on a protected, stable surface so the horn is supported and the saddle cannot slide. Apply controlled downward pressure at the cantle while watching and feeling for motion, separation, or a pop.
Some sellers and riders use this test because a break in the fork or tree can show itself when the front and rear are loaded against each other. It should be gentle and brief; forcing the saddle or bouncing on it can damage sound equipment and proves nothing about fit.
Listen closely. A clear click, crack, or shifting sensation is a stop sign, especially if it repeats when the pressure is released and reapplied.
The Western bars should look even and feel solid beneath the skirts.
Lift the fenders and inspect as much of the underside as the design permits. Compare the left and right bars for matching shape, matching contact surface, and an even relationship to the gullet.
Run your fingers along accessible edges under the skirts and around the fork and cantle. Sharp ridges, a localized hollow, or one bar that seems to sit at a different angle needs an expert assessment before the saddle is put on a horse.
Check the horn without using it as a handle. A horn that turns, rocks, or feels independent from the fork may indicate a problem in the horn, the cap, or the tree connection; regardless of the cause, it is not a detail to ignore.
English saddle tree inspection focuses on pommel symmetry, cantle stability, and controlled flex.
English saddles hide more of the tree beneath panels and leather, so comparison and feel become especially important. Start with the saddle on a level stand and look directly at the pommel or head from the front.
The points should appear even and the channel should remain centered toward the cantle. One point angled lower, a visibly shifted head, or a cantle that appears rotated can indicate a twisted tree, but panel flocking can also create a misleading outline.
A gentle flex test compares the two sides without forcing the tree.
Hold the saddle securely and use modest, even pressure to test the pommel area and then the cantle area. On a spring tree, a small amount of designed movement may be normal; the response should be smooth, controlled, and similar from left to right.
A fixed tree should not be deliberately flexed hard. The useful check is whether it stays stable under ordinary handling and whether either side yields, clicks, or shifts differently from the other.
Never mistake “more flex” for “better.” The correct amount of movement depends on the original tree design, while a sudden change in movement on an older saddle can be a warning sign.
The pommel and cantle should stay square when you apply light opposing pressure.
Rest one hand at the pommel and the other at the cantle, then apply light opposing pressure as though checking for looseness. The saddle should feel like one stable unit, not like two sections working independently.
Watch the seat leather while you do this. New bunching, a visible gap, or an audible click paired with movement gives you a specific reason to stop and seek a professional inspection.
Do not put your body weight on the saddle, jump on it, or twist it against the ground. A pre-purchase check should identify suspicious behavior without turning the buyer into the source of new damage.
Panels and flocking must be even because they sit between the tree and the horse.
A sound tree does not make an automatically comfortable saddle. The panels or cushioning distribute the saddle’s contact over the horse’s back, and uneven material can create pressure even when the frame is structurally intact.
Wool flocking should feel resilient and consistent from side to side.
On an English saddle with wool flocking, press along each panel with open fingers. You are looking for a smooth, supportive feel rather than hard knots, deep hollows, or one side that is markedly flatter than the other.
Flocking can compress with use and can usually be assessed and adjusted by a qualified saddle fitter. That is different from a tree fault, but it still affects fit and should be part of the buyer’s decision.
Pay special attention behind the shoulder area and along the rear of the panels. These are common places for unevenness to become obvious when you compare matching points on both sides.
Foam panels should not feel collapsed, lumpy, or permanently uneven.
Foam generally has a more uniform feel than wool, but it can break down, harden, or take a permanent set. Press slowly along the panels and see whether the material rebounds evenly after you release it.
A localized hard ridge or a soft, collapsed pocket can change pressure distribution. It may be a panel issue rather than a broken tree, yet it still means the saddle should not be assumed ready for a horse.
Check for repairs that are visible through the panel leather. Neat repair work is not automatically a problem, but ask what was repaired, who did it, and whether the work addressed a panel issue or structural damage.
Leather, stitching, and rigging reveal whether the rest of the saddle is safe to use.
Tree condition comes first, but a saddle with a sound tree can still fail through leather, stitching, or hardware. Inspect these areas before you decide a used saddle is safe enough to trial.
Dry rot leather is brittle and can fail where strength matters most.
Dry rot leather saddle damage often looks faded, cracked, powdery, or unusually stiff, but the key issue is strength. Gently bend an inconspicuous edge and watch for cracking; do not soak or heavily oil the saddle before you understand its condition.
Focus on billets, stirrup leathers, fender attachments, girth straps, cinch straps, and any straps that hold the rider in position. Leather that cracks when gently flexed is not made safe by surface conditioner.
Smell can help too. A strong musty odor, mildew marks, or evidence of long damp storage should make you examine hidden areas more closely, including under skirts, near panel seams, and inside stirrup leather folds.
Stitching and metal fittings should be intact, secure, and free of dangerous corrosion.
Follow every load-bearing stitch line with your eyes and fingertips. Missing stitches, stretched holes, broken thread, or a seam pulling away at the rigging can turn into a safety failure under riding forces.
Check buckles, D-rings, stirrup bars, Blevins-style buckles, conchos that cover rigging attachments, and rivets. Surface discoloration may be minor, but deep corrosion, a cracked ring, a bent fitting, or a fitting that rocks in the leather is a reason not to ride.
On a Western saddle, inspect the saddle rigging check carefully: tug each attachment by hand, inspect the cinch straps for stretching and cracks, and verify that protective leather is not concealing damaged hardware. On an English saddle, check the billet webbing and billets individually rather than assuming the visible outer leather represents their condition.
These warning signs mean you should walk away or get a professional verdict.
The clearest warning signs are a visible tree crack, a repeated pop or click with ordinary pressure, a loose horn, a clearly twisted outline, or unequal movement from matching points. Any one of these is enough to stop treating the saddle as ready to ride.
Other reasons to pause include horizontal seat wrinkles combined with movement, a badly collapsed panel, rotten load-bearing leather, failed rigging stitches, or hardware that is cracked or loose. Several smaller issues together can be as meaningful as one obvious fault.
A repair decision depends on the exact fault, construction, and professional assessment.
Some panel, flocking, leather, and hardware issues can be repaired by the right professional. A damaged tree is different because repair may require opening the saddle, identifying the original construction, and deciding whether the finished saddle can be returned to safe structural condition.
Ask a repair professional to identify the defect before agreeing to buy. A seller’s assurance that the saddle was “never a problem” is useful history, not a structural diagnosis.
For a suspected broken tree, I would choose a different saddle unless a qualified professional has inspected it and confirmed a safe path forward. The buyer should also consider whether the remaining leather, panels, and rigging justify further work after that assessment.
A complete used saddle inspection includes fit and purchase safeguards after the structural check.
A structurally sound saddle can still be wrong for your horse. Tree width, panel shape, gullet clearance, balance, and the horse’s changing back all matter, so a used saddle tree inspection is the first gate, not the entire fitting process.
A saddle fitter can separate a tree defect from a fit or flocking problem.
A qualified saddle fitter can assess panel balance, saddle placement, clearance, and contact on the individual horse. They may also recognize whether an apparent asymmetry comes from uneven flocking, a worn panel, or an underlying tree issue.
If the seller allows a trial, inspect the saddle before riding and again afterward. Recheck for any new click, movement, shifted leather, or new marks that appear after normal use, and follow the seller’s written trial terms.
Do not use a thick pad to hide a structural concern. Padding can be useful for a correctly fitted saddle in appropriate circumstances, but it cannot correct a broken tree or make a mismatched tree shape suitable.
Online buyers should request evidence that photos usually miss.
Ask for current, unedited photos from the front, rear, top, underside, both sides, and close-ups of the rigging, billets, stirrup attachments, seat, and panels. Request a short continuous video showing the saddle on a level stand while the seller presses the matching points you would test in person.
Ask direct questions: Has the saddle been dropped? Has it been repaired? Does it click or move under pressure? Has it been stored in a damp place? Is there a return or trial arrangement if an independent professional finds undisclosed structural damage?
Written answers create clarity, but they do not replace inspection. If the seller will not provide the views needed to evaluate the saddle or discourages an independent assessment, treat that limitation as information and move on.
A used saddle buying checklist keeps the inspection in the right order.
Bring this sequence with you so a tidy saddle does not distract from the important checks.
- Confirm the saddle is dry, uncovered, and on a level stand.
- View the pommel or fork, channel, and cantle from front, rear, and above for symmetry.
- Compare left and right sides with light, equal pressure at the front, middle, and rear.
- Check for clicks, pops, looseness, seat distortion, cracks, and abnormal flex.
- Inspect panels or fleece for even support and signs of compression or collapse.
- Flex a discreet leather edge gently and inspect all load-bearing leather for dry rot.
- Check stitching, billets or cinch straps, rings, buckles, stirrup attachments, and rigging.
- Ask about falls, repairs, storage, history, and the opportunity for an independent inspection.
- Evaluate fit on the intended horse only after the structural and safety checks are satisfactory.
Keep notes and photos for each saddle you view. When comparing more than one option, written observations make it easier to notice that one saddle had a subtle click, an uneven panel, or limited inspection access.
A good inspection uses brand knowledge as context, not as a substitute for testing.
Construction quality can vary among imported and domestic saddles, as it can within any brand. A recognizable maker may make research, parts, fitter familiarity, and resale history easier, but a name stamp cannot prove that a particular used saddle has a sound tree.
Ask for the model, approximate age, serial or identification information if present, and any repair records. Then inspect the actual saddle in front of you with the same method you would use for an unfamiliar one.
Be especially cautious with a saddle that has been heavily cleaned, freshly darkened, or photographed only from a distance. Those details are not evidence of deception, but they make it more important to see the areas that carry structural and rider loads.
A broken-tree suspicion calls for stopping the purchase, not hoping it disappears.
People sometimes hear a single noise and wonder whether it was only leather. One isolated creak may have a harmless source, but a sound that repeats with matching movement, asymmetry, or seat distortion deserves professional attention.
The same restraint applies to a saddle that looks almost right. If one bar, panel, or point behaves differently from its counterpart, you do not need to prove the exact failure in a seller’s barn; you only need enough information to avoid taking on an unsafe unknown.
Trust the inspection sequence rather than the pressure to decide quickly. There will be another used saddle, while a structural defect can be difficult to see and easy to regret.
Frequently asked questions answer the most common used saddle safety concerns.
How do you check if a saddle tree is broken?
Place the saddle on a level stand, compare its symmetry from the front, rear, and above, then apply light equal pressure to matching points on both sides. Stop if you find a crack, unequal movement, a repeated click or pop, a loose horn, or a visibly twisted shape, and have a qualified saddle fitter or repair professional inspect it.
Can you ride a horse with a broken saddle tree?
No. A broken or twisted saddle tree can create uneven pressure, reduce stability, and contribute to horse discomfort and rider risk. Do not ride until a qualified professional has evaluated the saddle and confirmed it is structurally safe.
What should I check when buying a used saddle?
Check the tree for symmetry, cracks, movement, and noises first. Then inspect panels or flocking, leather for dry rot, stitching, billets or cinch straps, rigging, metal fittings, repair history, and fit on the intended horse with help from a qualified fitter.
Can a broken saddle tree be repaired?
Some saddle issues can be repaired, but tree work depends on the type and location of the defect, the saddle construction, and the condition of the remaining saddle. Get a qualified repair professional to diagnose the tree before buying or riding the saddle.
A used saddle tree inspection protects the horse before the saddle ever reaches the barn.
Start with symmetry, compare both sides by hand, listen for movement or noise, then check panels, leather, stitching, and rigging. If anything suggests a broken or twisted tree, stop the purchase or arrange an independent professional inspection before the saddle is used.
That careful used saddle tree inspection takes only a short time, yet it keeps a cosmetic bargain from becoming a comfort or safety problem. A sound saddle still needs to fit the individual horse, so make the structural check your first decision and professional fitting your next one.