
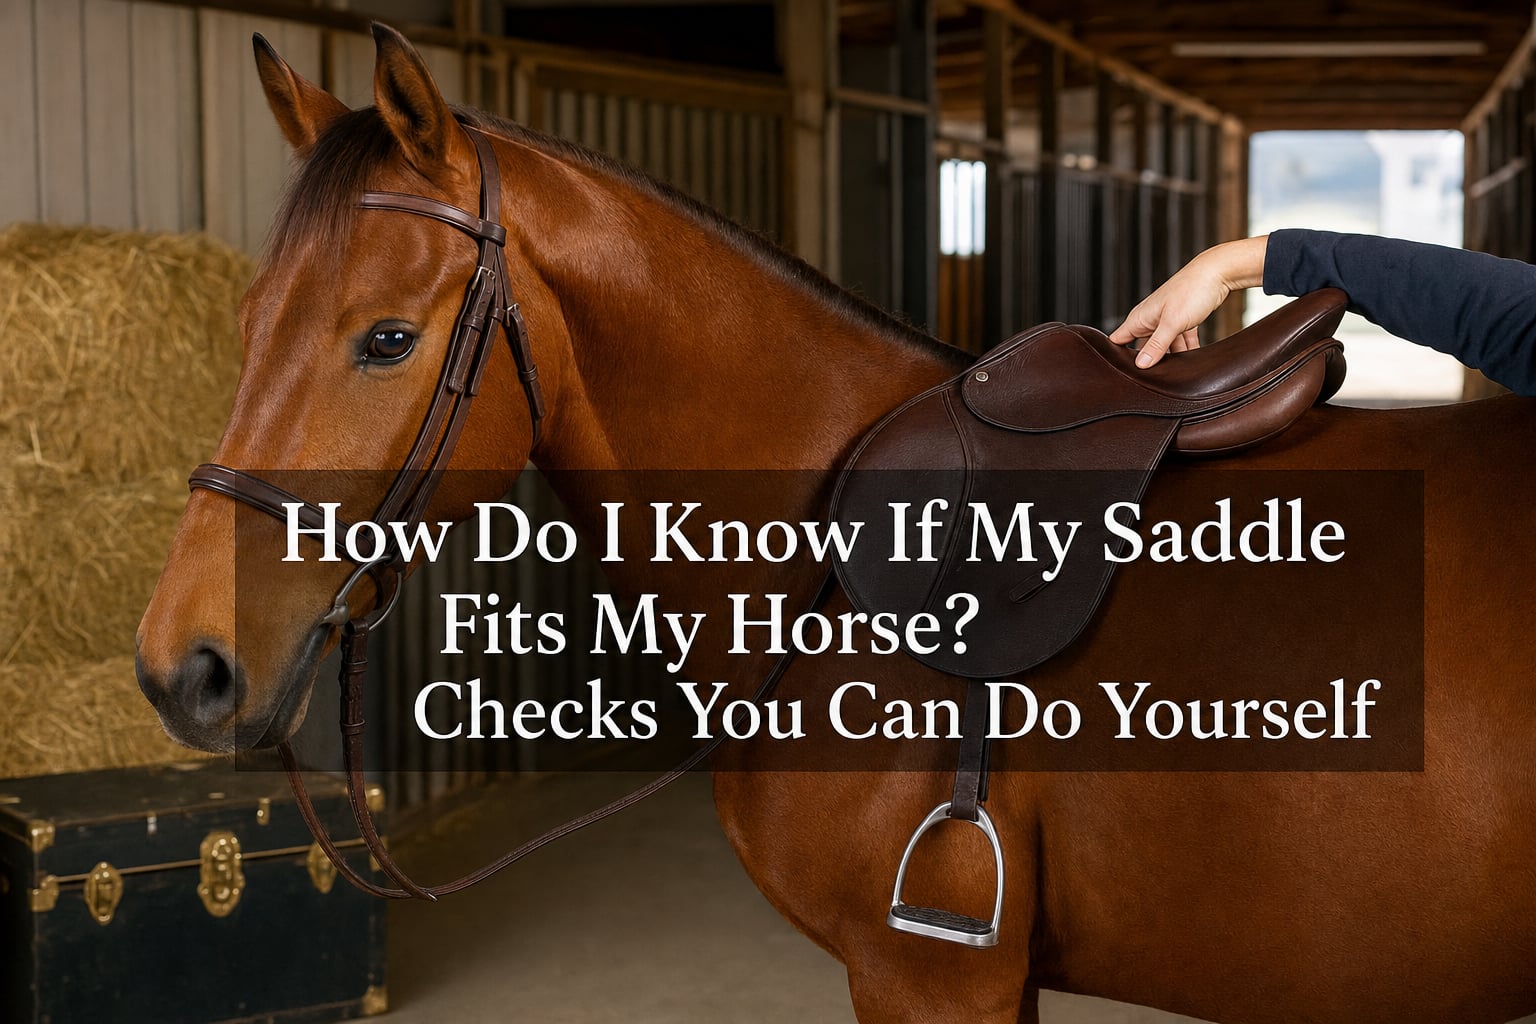
Wondering “how do I know if my saddle fits my horse?” is a question every responsible rider should ask regularly. A poorly fitted saddle causes pain, muscle atrophy, and serious behavioral issues that can turn an otherwise willing partner into a resistant, unhappy animal. The good news is you can perform a thorough saddle fit assessment at home with nothing more than your hands and a few minutes of attention.
Our team has spent years working with horses across disciplines, from dressage to trail riding, and we have seen firsthand how dramatic the turnaround can be when a saddle fit problem gets corrected. Horses that pinned their ears at girthing suddenly relax. Bucking episodes vanish. Performance improves almost overnight. The difference between a well-fitted and poorly fitted saddle is not subtle.
In this guide, we will walk you through nine specific saddle fit checks you can do yourself, without paying for a professional fitter. Each check uses simple finger-width measurements and visual assessments that anyone can learn. We will also cover behavioral warning signs, seasonal considerations, and when calling a professional saddle fitter is the right move.
Table of Contents
Before You Start: Setting Up Your Saddle Fit Check
Proper setup makes the difference between a reliable assessment and a misleading one. Start by positioning your horse on flat, level ground where they can stand squarely on all four feet. Have someone hold your horse or tie them safely at a comfortable height.
Place the saddle on your horse’s back without any saddle pad underneath. A bare saddle lets you feel exactly how the tree and panels interact with your horse’s back muscles and skeletal structure. You will add the pad later to check fit with the full setup your horse actually works in.
Position the saddle slightly forward on the withers, then gently slide it back until it settles into its natural resting position behind the shoulder blade. This sliding motion helps the saddle find where the tree points naturally sit without catching on the scapula. The saddle should rest in the pocket just behind the shoulder, not perched on top of the withers.
Keep your horse standing still and relaxed throughout the assessment. A tense or fidgety horse changes posture, which can skew your readings on clearance and panel contact.
How Do I Know If My Saddle Fits My Horse? The 9 Essential Checks
These nine checks cover every aspect of saddle fit from front to back. Work through them in order, taking notes on anything that seems off. Remember that a single failed check can indicate a problem, even if the others pass.
Check 1: Saddle Balance (Pommel-to-Cantle Level)
Balance is the foundation of good saddle fit. Stand back and look at the saddle from the side. The lowest point of the seat should sit in the center of the saddle, and the pommel and cantle should appear roughly level when measured against the ground.
For a more precise test, place a pen or small straight object across the seat from pommel to cantle. It should sit parallel to the ground. If the pommel sits noticeably higher than the cantle, the saddle is likely too narrow in the tree, pitching the rider backward. If the cantle is much higher than the pommel, the saddle may be too wide, or the panels may need reflocking at the front.
A balanced saddle keeps the rider’s weight distributed evenly across the horse’s back. An unbalanced saddle dumps weight onto a small area, creating pressure points that lead to soreness and behavioral problems.
Always recheck balance with a rider in the saddle, because rider weight compresses the flocking and changes the geometry. Have a friend photograph the saddle from the side while you sit in your normal riding position.
Check 2: Wither Clearance
Slide your hand flat under the pommel, above the withers and below the saddle tree. You should fit at least three fingers width between the bottom of the pommel and the top of your horse’s withers when the horse is standing still. Once a rider sits in the saddle, that clearance compresses, so you need at least two fingers width with weight in the saddle.
If you can barely squeeze one finger under the pommel, the tree is too narrow or too wide in angle for your horse. A saddle that is too narrow perches up high and pommel clearance looks generous initially, but it sits on the withers rather than wrapping around the back. A saddle that is too wide sits too low, dropping the pommel dangerously close to the spinal processes.
Horses with high withers need deeper clearance than round, flat-withered horses. For mutton-withered or round-backed horses, pay extra attention to the gullet channel width rather than just pommel height, because the saddle may have adequate vertical clearance but still press on the sides of the wither area.
Check clearance on both sides of the withers, not just the top. The tree points should sit behind the shoulder blade and angle back along the ribcage, not pinch the muscles on either side of the wither.
Check 3: Gullet Channel Width
The gullet is the open channel running down the center of the saddle underneath, designed to keep pressure off your horse’s spine and spinal ligaments. Run your hand flat along the channel from front to back on both sides. You should have two to three fingers width of clearance between the panels and the spine on each side.
A gullet channel that is too narrow pinches the supraspinous ligament running along the top of the spine, causing acute pain and potential long-term damage. The horse may react by hollowing the back, resisting forward movement, or developing a sore back that worsens over time.
A channel that is too wide creates a different problem. The panels sit too far apart on the outer edges of the ribcage, concentrating pressure on the edges rather than distributing it across the broad, muscular part of the back. This can cause the saddle to feel unstable or rock side to side.
Most horses need a gullet channel of roughly three fingers width, though this varies with breed and build. Draft crosses and wide-barreled breeds often need wider channels, while finer thoroughbred types may be comfortable with a slightly narrower channel as long as spinal clearance is maintained.
Check 4: Full Panel Contact
Even panel contact along the entire length of the saddle is critical for distributing your weight without creating pressure points. Run your hand flat under the front of the panel, then slide it back toward the cantle. You should feel consistent, even pressure the entire way.
If you feel pressure at the front and back of the panel but a gap in the middle, your saddle has bridging. Bridging concentrates weight on the front and rear of the saddle area, leaving the middle unsupported. This is one of the most common and damaging fit problems, because it creates two intense pressure zones instead of spreading load evenly.
If you feel the panel lift away at the back while pressing hard at the front, the saddle may be too wide at the rear or the horse’s back shape may have changed. Conversely, a saddle that rocks or bounces at the cantle when you press down on the pommel is too wide in the tree.
Perform the hand slip test on both sides of the saddle. Horses are rarely perfectly symmetrical, and a saddle that fits one side may gap or pinch on the other. If one side feels dramatically different, your horse may have muscle asymmetry that needs attention from a veterinarian or equine bodyworker.
Check 5: Saddle Length
A saddle that extends too far back puts pressure on the lumbar region, an area of the spine with no ribcage protection and high sensitivity. Place your fingers at the back of the saddle panel and trace downward to find where the last rib meets the spine. The saddle panel must not extend beyond the 18th thoracic vertebra, which marks the transition to the lumbar spine.
To find this landmark, feel for the last rib on your horse’s side and follow it upward toward the spine. The saddle should end at or before this point. For shorter-backed breeds like Arabians, Morgans, and many ponies, saddle length is a frequent problem area because standard-length saddles simply run past the supportive ribcage.
An oversized saddle on a short-backed horse causes the rider’s weight to press directly on the lumbar vertebrae and the connections to the pelvis. Horses with this problem often develop soreness behind the saddle area, resist engaging their hindquarters, and may show behavioral issues like bucking or refusing to move forward.
When in doubt, choose a shorter saddle. Dressage saddles with long billets allow a close-contact feel without requiring a long panel, and many jump saddles now come in compact designs suited to shorter backs.
Check 6: Shoulder Clearance and Movement
The shoulder blade, or scapula, rotates backward with every stride your horse takes. A saddle tree that sits on top of the scapula blocks this rotation, creating pain and restricting movement. The tree points of the saddle should sit behind the shoulder blade, not on top of it.
To check this, lift your horse’s foreleg and pull it gently forward while feeling the edge of the scapula under the front of the saddle panel. There should be at least two fingers width between the back of the shoulder blade and the front of the tree point. If the tree point sits directly over the scapula, the saddle is too far forward or the tree angle is too narrow.
Horses with large, powerful shoulders need extra clearance. A saddle that initially clears the shoulder when standing still may press on the scapula during movement, especially at the trot and canter where the stride lengthens. Watch your horse move on a lunge line with the saddle in place to check for shifting or restriction.
Some saddle fitters recommend applying a thin dusting of talcum powder on the shoulder area before riding. Afterward, check where the saddle has rubbed the powder away. If the rub marks extend onto the scapula, the saddle is interfering with shoulder movement.
Check 7: Billet Alignment and Girth Position
Proper billet alignment keeps the saddle from sliding forward or backward during riding. When the saddle is correctly positioned, the billets should hang perpendicular to the ground, pointing straight down toward the girth groove behind the elbow.
If the billets angle forward from the saddle, the girth pulls the saddle forward into the shoulder blade. This is a common problem with horses whose conformation places the girth groove far back relative to the withers. A saddle with a point billet or adjustable girthing system can help solve this issue.
If the billets angle backward, the girth pulls the saddle back toward the loins, creating pressure on the lumbar area and throwing the rider’s balance off. This scenario often happens with forward-girth-groove horses wearing saddles designed for a more standard conformation.
Check billet alignment with the girth loosely fastened, then again after fully tightening. The natural position of the girth groove should match the billet direction. Misaligned girthing is one of the most overlooked causes of chronic saddle slipping and behavioral resistance during riding.
Check 8: Saddle Straightness
Step directly behind your horse at a safe distance and look at the saddle from the rear. It should sit perfectly centered on the spine, with equal panel contact on both sides. One side of the saddle should not sit higher than the other.
Lateral asymmetry is common in horses that favor one lead, carry their rider crookedly, or have developed uneven muscling from previous saddle fit issues. A saddle that looks straight when viewed from the side may actually be sitting diagonally across the back, creating uneven pressure and rider imbalance.
Check straightness again after tightening the girth and once more with a rider mounted. A saddle that shifts to one side when the rider sits down may indicate a horse with significant muscle asymmetry, a twisted tree, or a girth groove that pulls the saddle off-center.
Persistent straightness problems warrant a professional assessment. Equine physiotherapists and saddle fitters can identify whether the issue stems from the horse’s body, the saddle, or the rider’s position.
Check 9: Ridden Assessment and Sweat Marks
Static checks tell you a lot, but the real test happens under saddle. Ride your horse for 15 to 20 minutes at walk, trot, and canter in both directions. Pay attention to how your horse moves compared to normal. Reluctance to go forward, tail swishing, ear pinning, or a hollow back during riding all suggest fit problems.
After riding, remove the saddle and pad immediately. Look at the sweat pattern on your horse’s back. A well-fitted saddle leaves an even sweat mark matching the shape of the panels, with no dry spots. Dry spots indicate pressure points where blood flow was restricted, preventing normal sweating in that area.
Dry spots at the front of the panel suggest the tree is too narrow. Dry spots at the rear point to the saddle sitting too low at the back. A dry stripe down the center means the gullet channel is too wide, or the panels are not making proper contact along the spine.
White hairs appearing in the saddle area are a sign of chronic pressure damage from repeated use of an ill-fitting saddle. If you see white hairs forming, stop riding in that saddle immediately and have a professional fitter assess the situation.
Behavioral Signs Your Saddle Does Not Fit
Horses communicate pain through behavior, and saddle fit problems produce some of the clearest behavioral signals in all of horsemanship. Learning to read these signs can prevent months of frustration for both you and your horse.
During saddling, watch for reactions when you place the saddle on the back. A horse that flinches, steps away, pins their ears, or turns to bite when the saddle lands may be anticipating pain from previous ill-fitting tack. This behavior often disappears once the underlying fit issue is resolved.
Girthing reactions are equally telling. Horses that kick, bite, or pin their ears when you tighten the girth are frequently reacting to saddle pressure, not the girth itself. If the saddle pinches at the withers or shoulders, the pressure increases as the girth pulls the saddle down into position.
Under saddle, poor fit manifests as resistance behaviors. Bucking, rooting the reins, swishing the tail excessively, refusing to move forward, or rushing jumps can all stem from a saddle that creates pain with every stride. Horses that travel with a hollow back, avoiding contact with the saddle panels, are trying to escape pressure.
Physical signs develop over time with chronic fit problems. Look for muscle atrophy behind the shoulder blade, white hairs in the saddle area, sensitivity to brushing along the back, swelling or heat after riding, and an asymmetrical sweat pattern. Any of these signs warrants immediate investigation.
Trust your gut. If your horse suddenly develops a new behavioral issue, check the saddle first before assuming a training problem. Riders on forums like the Chronicle of the Horse and r/Equestrian frequently report dramatic behavioral turnarounds after correcting a saddle fit issue that had been misdiagnosed as a training gap.
English vs Western Saddle Fit: Key Differences
The fundamental principles of saddle fit apply across disciplines, but English and Western saddles have structural differences that change how you perform certain checks. Understanding these differences helps you apply the right assessment for your tack.
English saddles use a tree with adjustable flocking in the panels, allowing a saddle fitter to add or remove wool to fine-tune the fit. Wither clearance, gullet channel width, and panel contact follow the same rules we described above. The tree angle should match the shoulder angle, and the tree points should sit behind the scapula.
Western saddles use a rigid tree with bars rather than flocked panels, meaning the tree itself must match the horse’s back shape without the adjustability of wool flocking. The bar angle is the critical measurement, and Western saddle trees come in semi-quarter horse, full quarter horse, and wide varieties to approximate different back shapes. Checking Western fit involves feeling along the bar edges for even contact and identifying rocking or bridging.
Western saddles distribute weight over a larger area than English saddles, which can be an advantage for long hours of trail riding but also means pressure points affect a wider zone. The skirt should lay flat without gaps, and the front bars should clear the withers by at least two to three fingers when the rider is mounted.
Both styles require checking saddle length against the 18th thoracic vertebra. Western saddles with long skirts are frequent offenders on short-backed breeds, where the skirt extends well past the ribcage onto the lumbar area.
Seasonal Changes and Your Saddle Fit
Your horse’s body changes throughout the year, and a saddle that fit perfectly in July may be too tight by December. Understanding these seasonal patterns helps you stay ahead of fit problems before they cause pain.
Horses typically gain weight and muscle during spring and summer when pasture is rich and riding frequency increases. A saddle that had ample wither clearance in early spring may sit lower by midsummer as the horse fills out across the topline. Conversely, winter weight loss and reduced riding can leave a saddle that previously fit well now sitting too wide and dropping onto the withers.
Fitness level affects back muscling as much as diet. A horse returning to work after winter layoff develops different muscling than one in peak competition condition. If your horse has had time off, recheck saddle fit after four to six weeks of consistent work, because the developing muscles change how the panels contact the back.
Young horses between ages three and seven are still developing their topline and may outgrow a saddle that fit them as four-year-olds. Senior horses often lose muscle mass and topline condition, requiring flocking adjustments or a different saddle altogether.
Plan to reassess saddle fit at least twice per year, ideally at the start of your heavy riding season and again mid-season. Many riders schedule a professional fitting every six months to coincide with these natural body changes.
When to Call a Professional Saddle Fitter?
DIY checks are valuable for ongoing monitoring and catching problems early, but some situations require professional expertise. Knowing when to call a qualified saddle fitter saves your horse from prolonged discomfort and saves you money in the long run.
Call a professional if you identify bridging that cannot be resolved with pad changes, if your saddle has dramatically uneven panel contact from side to side, or if you notice white hairs or muscle atrophy developing. A certified fitter from the Society of Master Saddlers or an equivalent certifying body has the training and tools to diagnose and correct these issues properly.
Always involve a fitter when buying a new saddle, especially a used one purchased online without trying it first. A fitter can assess whether the tree angle, tree width, panel shape, and gullet channel match your horse’s back before you commit to the purchase. This service typically costs far less than buying a saddle that does not fit.
Professional reflocking addresses changes in panel wool that compress over time and with use. Most flocked saddles benefit from a check and possible reflocking every 12 to 18 months, depending on how frequently the saddle is used. Foam-paneled saddles cannot be reflocked but may require replacement panels if the fit changes significantly.
The cost of a professional fitting visit varies widely by region and fitter qualifications, but most riders find the investment worthwhile compared to the expense of treating a back-sore horse or replacing a saddle that caused damage. Many fitters will also check multiple saddles during one visit, so consider coordinating with barn mates to share travel costs.
Frequently Asked Questions
How to check if a saddle fits your horse?
Perform a nine-point assessment: check balance (pommel and cantle level), wither clearance (3 fingers static, 2 with rider), gullet channel width (2-3 fingers either side of spine), full panel contact (no bridging), saddle length (not past the 18th thoracic vertebra), shoulder clearance (tree points behind scapula), billet alignment (perpendicular to ground), straightness (centered when viewed from behind), and ridden sweat marks (even pattern, no dry spots).
How do I find a saddle that will fit my horse?
Start by having a professional saddle fitter assess your horse’s back shape, including wither tracings and back templates. Match the tree width and angle to your horse’s conformation. Test ride in the saddle before purchasing when possible, and have the fitter check fit with you mounted. Consider adjustable-tree saddles if your horse is still developing or changes shape seasonally.
What size gullet fits most horses?
Most horses fit a medium or medium-wide gullet, roughly equivalent to a 4.5 to 5 inch gullet channel measurement. Thoroughbred types often need medium, while warmbloods and draft crosses typically need wide or extra-wide. The gullet channel width should allow 2-3 fingers of clearance on either side of the spine. There is no universal size because back shape varies significantly by breed, age, and fitness level.
Can you fit a saddle yourself?
Yes, you can perform a thorough self-assessment using the nine DIY checks outlined in this guide. You do not need special tools beyond your hands for finger-width measurements. However, a professional fitting is recommended when buying a new saddle, when your horse shows pain or behavioral signs, or when you identify bridging, significant asymmetry, or white hairs indicating chronic pressure damage.
What are the signs of an ill-fitting saddle?
Behavioral signs include ear pinning or biting during saddling and girthing, bucking, tail swishing, reluctance to move forward, and a hollow back under saddle. Physical signs include white hairs in the saddle area, muscle atrophy behind the shoulder, dry spots in the sweat pattern, swelling or heat after riding, and the saddle shifting forward, backward, or sideways during movement.
Conclusion: Taking Charge of Your Horse’s Comfort
Knowing how to answer “how do I know if my saddle fits my horse?” puts you in control of your horse’s comfort and performance. These nine checks give you a reliable, repeatable assessment you can perform at home in under 20 minutes, with nothing more than your hands and a willingness to pay attention.
Start by running through all nine checks today with your current saddle. Write down what you find, and repeat the assessment every few months to track changes as your horse’s body evolves. Early detection of fit problems prevents the behavioral issues, muscle damage, and performance declines that come from riding in a saddle that no longer suits your horse.
Your horse relies on you to be their advocate for comfort and soundness. A saddle that fits well is one of the most meaningful investments you can make in that partnership. Start checking, stay consistent, and never hesitate to call a professional when the situation calls for expert eyes.